- Published on
Installing .NET on Linux
- Authors

- Name
- Mathias Hove
- @mathias_hove
Introduction
One requirement for working with .NET on Linux, is to install the .NET SDK. On Windows we typically do not have to think about this, since the Visual Studio installer typically handles this for us (For better or worse). The benifit of the Visual Studio installer is the ease of use as well as an approachable learning courve. The caveat is of course that developers who are not familiar with .NET, dont know what is going on behind the scenes.
Microsoft offers multiple ways of install .NET on Linux. I prefer the Scripted install, since i found it to be the easiest way. The script will make sure to install DOTNET in the correct destionation for your specific distro. This is quite handy, since we take away a lot of the complexity around getting .NET to work in Linux.
One requirement for working with .NET on Linux is to install the .NET SDK. On Windows, we typically do not have to think about this, since the Visual Studio installer usually handles it for us (for better or worse). The benefit of the Visual Studio installer is its ease of use and an approachable learning curve. The caveat is, of course, that developers who are not familiar with .NET don’t know what is happening behind the scenes.
Microsoft offers multiple ways to install .NET on Linux. I prefer the Scripted install as I find it to be the easiest option. The script ensures that .NET is installed in the correct destination for your specific distribution. This is quite handy, as it simplifies the process of getting .NET to work on Linux.
Installing
First, open your terminal and paste the command below. This will download the installation script to your current location.
wget https://dot.net/v1/dotnet-install.sh -O dotnet-install.sh
Afterwards, we need to grant permissions to the script so that we can run it as an executable. This is done by using CHMOD. +x option means that you'll make the script executable.
chmod +x ./dotnet-install.sh
Now we can run the script
./dotnet-install.sh
By default the script will download the most recent LTS version of .NET.
IF you would like to install the latest, which might not be an LTS, use the option version --latest
./dotnet-install.sh version --latest
It is also possible to install specific version of .NET. Lets have a look at the below example. This will install .NET Core 6
./dotnet-install.sh --channel 6.0
To use the .NET SDK CLI, we need to add DOTNET to the shell profile (Your terminal).
Lets have a look at some of the common shells
- Bash Shell: ~/.bash_profile or ~/.bashrc
- Korn Shell: ~/.kshrc or .profile
- Z Shell: ~/.zshrc or .zprofile
If you are in doubt on which shell you are using try executing the below command one by one, untill you hit a file with content.
sudo nano ~/.bash_profile
sudo nano ~/.bashrc
sudo nano ~/.kshrc
sudo nano .profile
sudo nano ~/.zshrc
sudo nano .zprofile
You should now have a file open in your Nano text editor. Now add the below to the bottom of your file.
export DOTNET_ROOT=$HOME/.dotnet
export PATH=$PATH:$DOTNET_ROOT:$DOTNET_ROOT/tools

Now hit ctrl + o to save the changes and ctrl-x to exit nano.
Restart your terminal, and run dotnet --list-sdks
You should get an output of the .NET versions that you have installed.

Now navigate to the folder you would like to create a .NET project in, and type
dotnet new list

Lets create an ASP.NET Core Web APP (Model View Controller)
dotnet new mvc -n MyProjectName
Now navigate to MyProjectName
cd MyProjectName/
and type
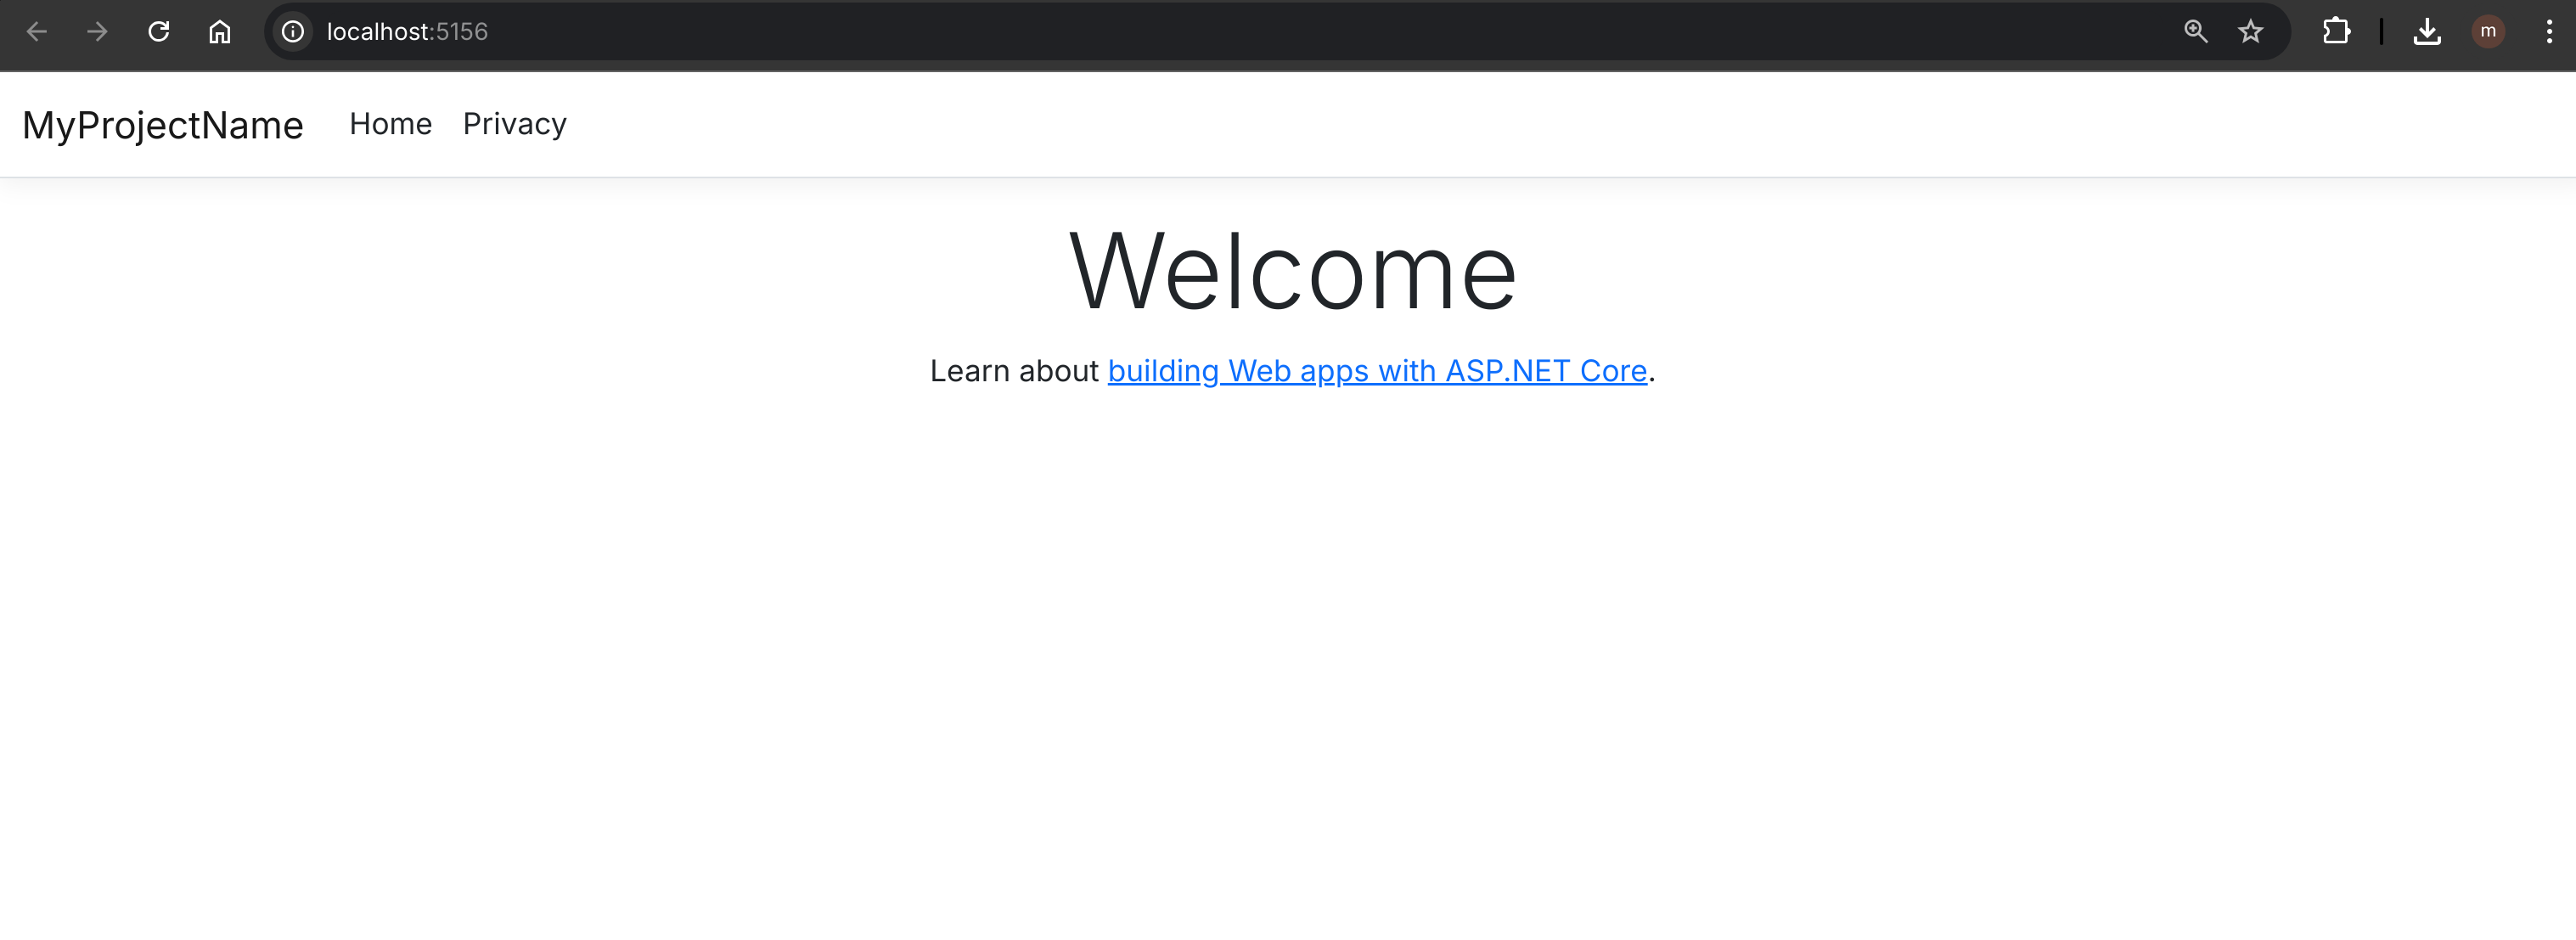
dotnet run
You should now have an MVC project running locally on your Linux distribution.

I will introduce you to some of my favorite text editors and IDEs for .NET on Linux in an upcoming post.